Have you ever opened your own website on your phone, watched it stall for a second too long, and felt that little sting of embarrassment? You’re not alone. You work hard to build something worth visiting—whether it’s an online store, a portfolio, a blog, or a service business. But if your pages load slowly, people won’t wait around to appreciate it.
That’s where CDN integration becomes a game-changer. It’s one of the simplest ways to make your website feel fast, stable, and professional—without rebuilding everything from scratch.
In this guide, you’ll learn what CDN integration is, why it matters for SEO and user experience, how to set it up, and how to avoid common mistakes that can cause headaches later.
What Is CDN Integration?
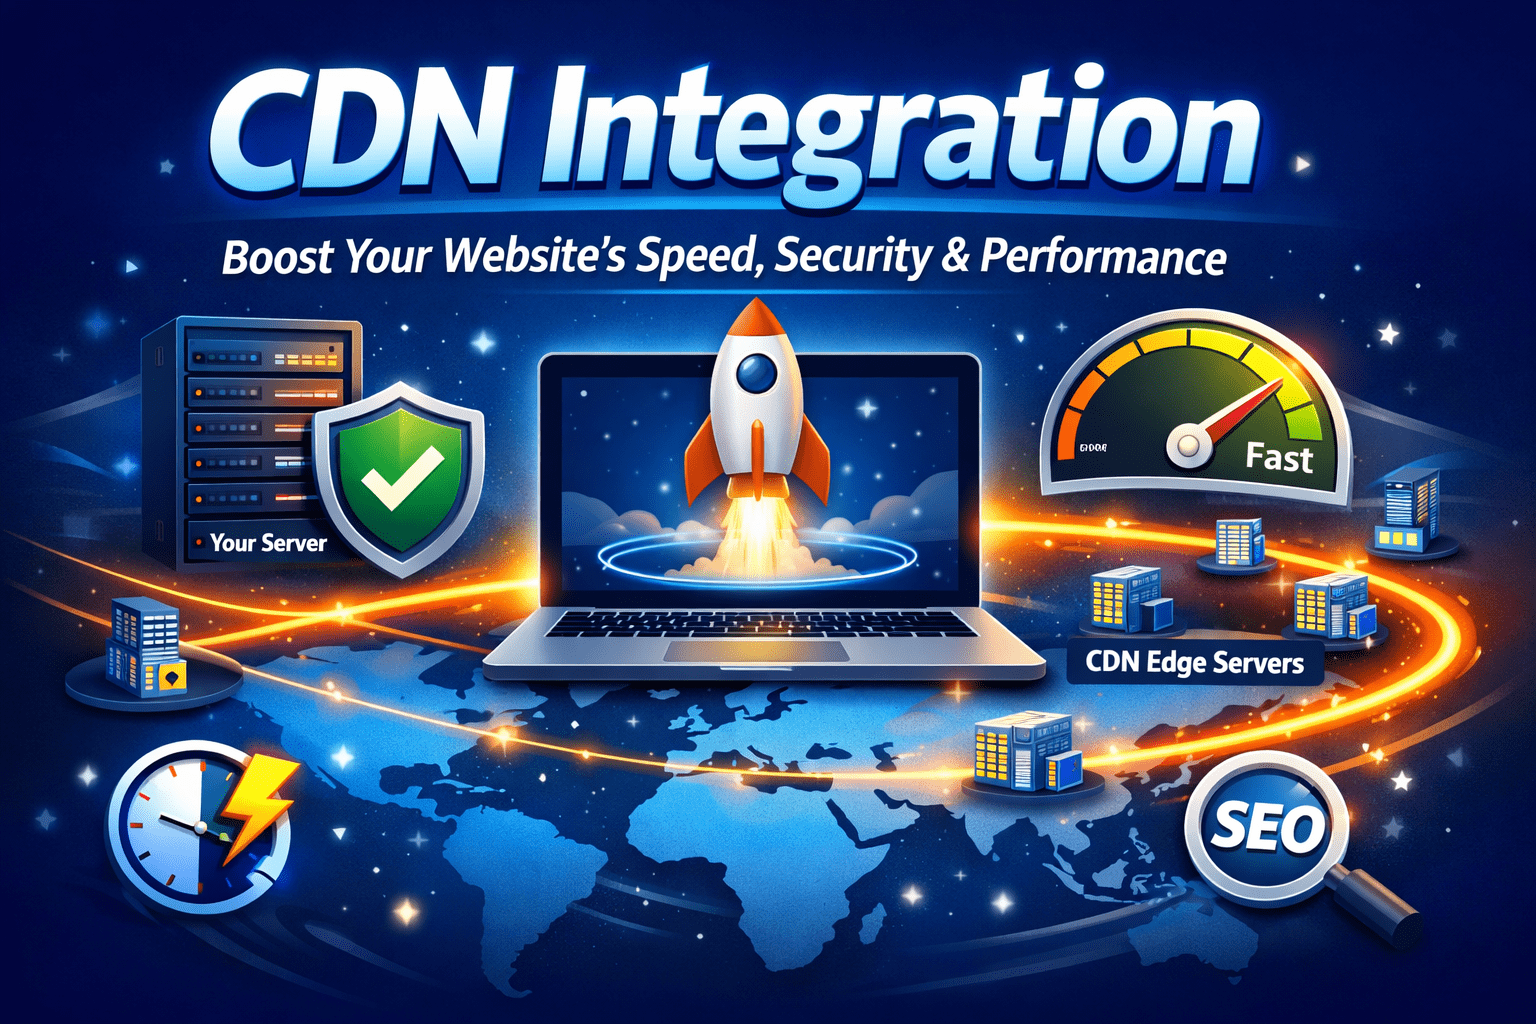
A CDN (Content Delivery Network) is a network of servers spread across different locations worldwide. Instead of forcing every visitor to load your website content from one single server, a CDN stores copies of your files on multiple servers closer to your users.
CDN integration means connecting your website to that network so your content is delivered from the nearest “edge server” available.
In plain terms:
When someone visits your site, the CDN helps your images, scripts, and styles load faster—because they’re coming from a location closer to them.
What a CDN typically delivers
A CDN is best at handling static content, such as:
- Images (JPG, PNG, WebP, AVIF)
- CSS files
- JavaScript files
- Fonts
- PDFs and downloadable files
- Video content (depending on setup)
Your dynamic content (like personalized pages or checkout sessions) can also be optimized with the right configuration—but you’ll want to be careful with caching rules.
Why CDN Integration Matters for Speed and SEO
Speed isn’t just a “nice to have.” It affects how people feel when they use your website—and how Google evaluates it.
When your site loads quickly, visitors are more likely to:
- stay longer
- browse more pages
- complete purchases or contact forms
- trust your brand
From an SEO perspective, CDN integration supports performance improvements that help with Core Web Vitals, especially metrics like loading speed and visual stability.
Key benefits of CDN integration
Here’s what you gain when your CDN setup is done right:
- Faster load times for visitors around the world
- Reduced server strain, especially during traffic spikes
- Better reliability when your hosting struggles
- Improved user experience, which supports stronger SEO signals
- More stable performance on mobile networks
If your audience is global—or even spread across a large country—CDN integration can make your site feel dramatically faster.
How a CDN Works (Without the Technical Headache)
When you integrate a CDN, your site content is delivered through two main components:
- Origin server: your main hosting server (where your website “lives”)
- Edge servers: CDN servers that store cached versions of your content
What happens when someone visits your site?
- A visitor requests your webpage.
- The CDN checks if it has a cached version of your assets.
- If yes, it serves them instantly from the closest edge server.
- If not, it fetches the content from your origin server and stores it for next time.
This is why CDN integration often improves performance even more after your site gets repeat visits.
Types of CDN Integration (Choose the Best Fit)
Not every website needs the same setup. Your best option depends on your platform, traffic, and how much control you want.
1) DNS-based CDN integration
This is one of the most common approaches. You update your domain settings so the CDN can route traffic efficiently.
Best for: full-site acceleration, security, ease of setup.
2) Reverse proxy CDN integration
With this setup, the CDN sits between your visitors and your origin server. It can filter traffic, block threats, and optimize delivery.
Best for: performance + protection in one package.
3) Pull CDN vs Push CDN integration
These terms describe how content gets onto the CDN.
Pull CDN
- CDN fetches content automatically when requested
- Easier to manage
- Great for most websites
Push CDN
- You upload content directly to the CDN
- More control, but more maintenance
- Useful for large media libraries
CDN Integration Requirements (Before You Start)
Before you connect anything, make sure you have the basics covered. This saves you from downtime and broken pages later.
Your CDN integration checklist
- Access to your domain’s DNS settings
- SSL support (your site should run on HTTPS)
- A backup plan (in case you need to roll back quickly)
- A way to test performance before and after
- Basic understanding of what should and shouldn’t be cached
Tools to test your results
Use these to measure real improvement:
- Google PageSpeed Insights
- GTmetrix
- WebPageTest
- Chrome DevTools (Network tab)
Step-by-Step CDN Integration Guide
Here’s a clean, practical way to integrate a CDN without overcomplicating it.
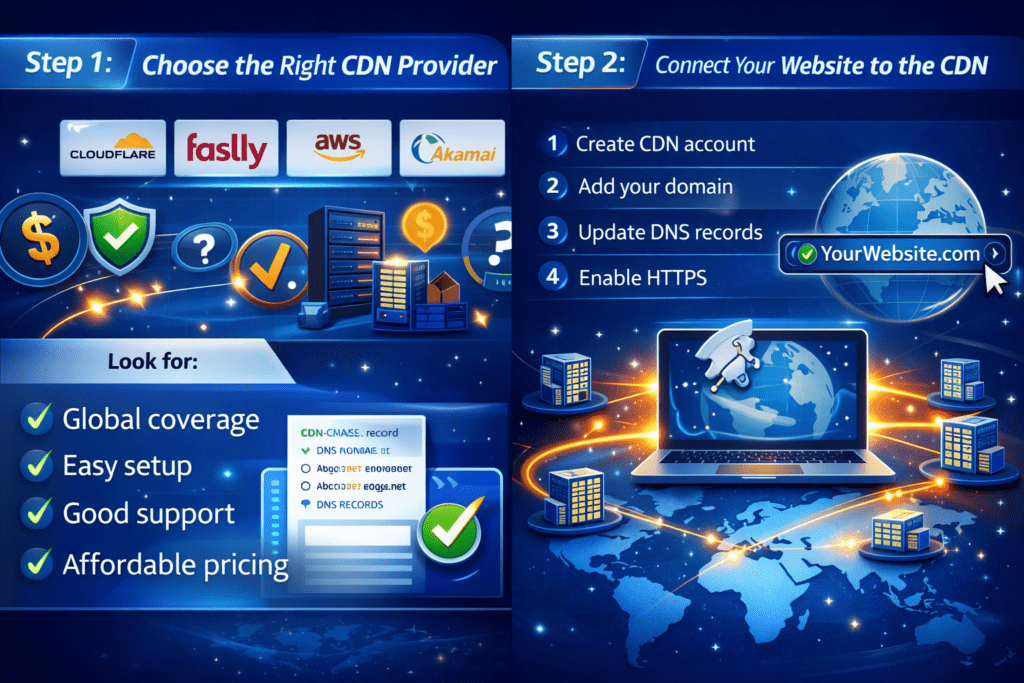
Step 1: Choose the right CDN provider
Look for:
- strong global coverage (many edge locations)
- easy dashboard and controls
- good support documentation
- security features (WAF, DDoS protection)
- pricing that matches your traffic
Popular providers include Cloudflare, Fastly, Akamai, and AWS CloudFront.
Step 2: Connect your site to the CDN
Most CDN integration setups follow this flow:
- Create an account with your chosen provider
- Add your website domain
- Verify ownership
- Update DNS records (nameservers or CNAME)
- Enable SSL and confirm HTTPS is working
Step 3: Configure caching rules
Caching rules are where performance wins happen.
A smart setup usually includes:
- cache static files longer (images, CSS, JS)
- avoid caching sensitive pages (login, checkout, account)
- enable Brotli or Gzip compression
- set up cache purging for updates
Step 4: Test after integration
Don’t skip this part. Check:
- your website loads normally
- images and styling are correct
- no “mixed content” warnings (HTTP assets on HTTPS pages)
- CDN cache status headers show it’s working
- speed improves from different locations
CDN Integration Best Practices (Performance + Stability)
If you want CDN integration that stays smooth long-term, these habits matter.
Best practices you should follow
- Enable HTTP/2 or HTTP/3 if available
- Compress assets (Brotli is excellent)
- Use image optimization and next-gen formats
- Minify CSS and JavaScript
- Use cache busting (versioning) for updated files
- Protect your origin server when possible
Recommended caching approach
A simple strategy that works well:
- Images: long cache duration (weeks)
- CSS/JS: medium-to-long cache (days to weeks)
- HTML pages: short cache or rules based on content type
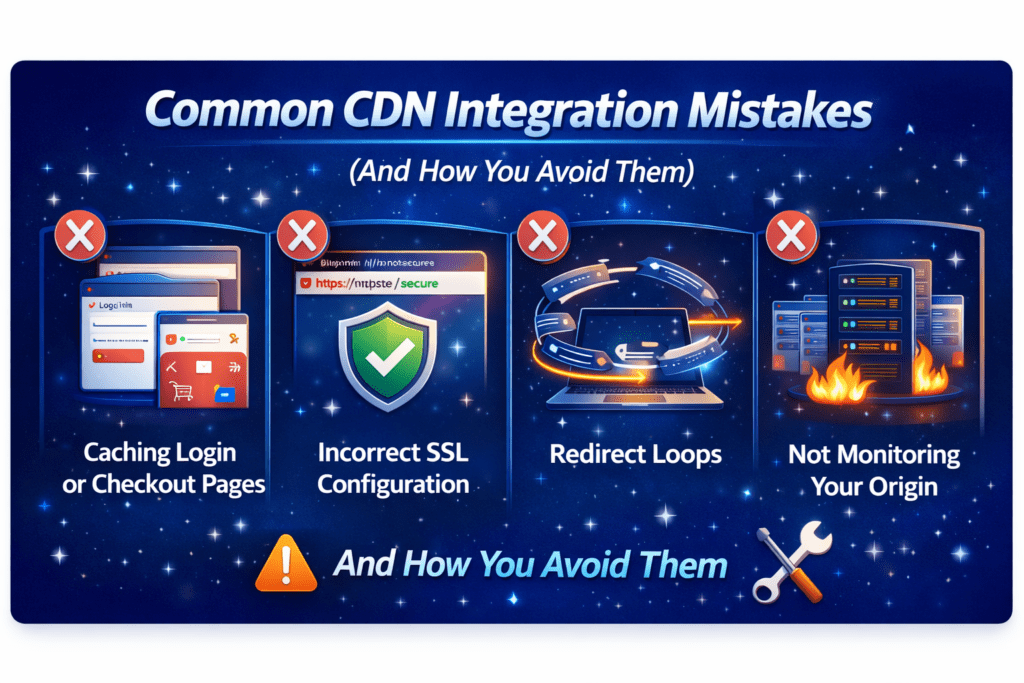
Common CDN Integration Mistakes (And How You Avoid Them)
CDN integration is powerful—but a few mistakes can create major problems.
Top mistakes to watch out for
- Caching login or checkout pages
This can break sessions or show the wrong content to users. - Incorrect SSL configuration
Leads to security warnings that scare visitors away. - Forgetting to purge cache after updates
You change your site… but visitors still see the old version. - Redirect loops
Usually caused by conflicting HTTP/HTTPS rules. - Not monitoring your origin
A CDN helps, but your origin still needs to stay healthy.
If something looks off after setup, your CDN’s error logs and support docs are often the fastest way to pinpoint the issue.
CDN Integration Security Benefits (Yes, It’s More Than Speed)
A good CDN does more than deliver content quickly. It can also help protect your website from threats.
Security advantages you get with CDN integration
- DDoS protection (traffic flood defense)
- Web Application Firewall (WAF)
- Bot filtering and rate limiting
- SSL/TLS encryption improvements
- Origin server protection (less exposure)
If your website handles payments, customer data, or high traffic, these protections are worth taking seriously.
CDN Integration “Recipe Table” (Settings That Work for Most Sites)
Here’s a practical configuration “recipe” you can follow.
| Ingredient (Setting) | Recommended Amount | Purpose | Notes |
|---|---|---|---|
| CDN Provider | 1 | Global delivery | Choose based on your audience |
| SSL/TLS Mode | Full (Strict) | Secure traffic | Avoid weak SSL modes |
| Cache TTL (Static Assets) | 7–30 days | Faster repeat visits | Use file versioning |
| Brotli Compression | Enabled | Smaller files | Great for speed |
| HTTP/3 | Enabled | Faster connections | Helpful for mobile |
| Image Optimization | Enabled | Faster pages | WebP/AVIF ideal |
| WAF Rules | Basic + custom | Extra security | Block bad traffic |
| Cache Purge Strategy | On update | Prevent stale content | Automate if possible |
FAQ About CDN Integration
What is CDN integration and how does it work?
CDN integration connects your website to a global network of servers that deliver cached content from locations closer to your visitors, improving speed and reliability.
Does CDN integration improve SEO rankings?
It can. CDN integration helps improve site speed and user experience, which supports stronger SEO performance and better Core Web Vitals.
How long does CDN integration take?
In many cases, you can complete CDN integration in 30–60 minutes. More advanced setups may take a few hours.
Is CDN integration safe for eCommerce websites?
Yes—as long as you avoid caching sensitive pages like checkout, cart, and account areas.
Do you need a developer for CDN integration?
Not always. Many providers offer beginner-friendly setups. But if you run a complex site, a developer can help you fine-tune caching rules and avoid edge-case issues.
Conclusion: CDN Integration Is a Smart Upgrade Your Visitors Will Feel
CDN integration isn’t about chasing perfection. It’s about making your website feel reliable—fast pages, smooth browsing, and fewer frustrating delays. When your site loads quickly, people trust you more. They stay longer. And they’re more likely to take action.
If you want a practical next step, start small: integrate a CDN, cache your static assets, test your performance, and adjust as needed. You’ll see results faster than you think.
Ready to upgrade your website?
Take action today: choose a CDN provider, complete your CDN integration, and run a speed test before and after.
And if you want, tell me what platform you’re using (WordPress, Shopify, custom site)—I’ll suggest the best CDN integration setup for your exact case.
GET your hosting plan with an extra 20% discount from Hostinger
see Also:
Best Web Hosting for Beginners (2026 Guide): Start a Website Without Stress
SSL Certificate (HTTPS): The Complete Guide to Securing Your Website & Building Trust 2026